


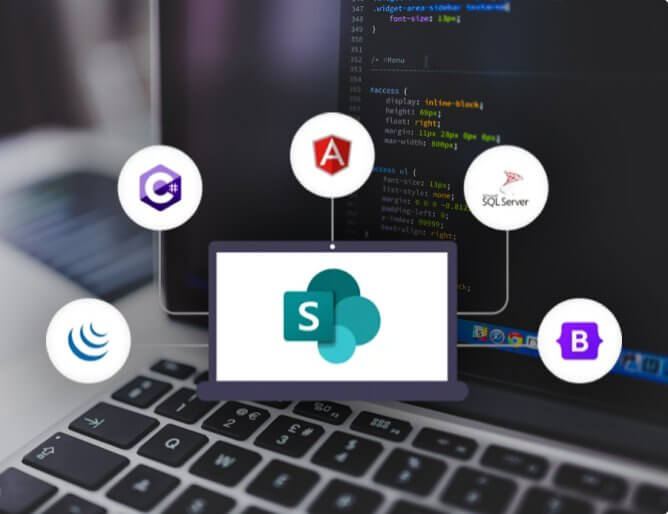
SharePoint Development
CIS is a top Microsoft SharePoint development service provider company that provides Tailor-Made Applications Built On The Microsoft SharePoint Platform For Improved Business Administration, Collaboration, And Security. We Can Help You Build High-End, Custom Applications That Are Easy To Configure And Integrate With A Plethora Of Other Microsoft Products Such As Office 365 Enterprise.
View Similar ProjectSharePoint Development Company
CIS is a leading SharePoint application development company. We provide highly-customized solutions that improve transparency in the business operations through better data collection, interpretation, collaboration, and more.
Our skills and the SharePoint platform’s innate quality allow you to achieve more flexibility and scalability in your operations. Our custom Microsoft SharePoint development services ensure the development of applications based on the SharePoint platform that secures your data better and promotes productivity with infused Microsoft products such as Microsoft office. It also makes reconfiguration of the products easy. SharePoint offers a myriad of intuitive tools that help ease the development process and reduce the development time significantly. We highly recommend you to go for SharePoint development for business applications, contact our experts today!
SharePoint Application Development Services
-
 SharePoint Administration Services
We provide configuration, application management and data analysis, installation, reporting and the use of devices, server monitoring and monitoring device health, as well as security management.
-
Custom SharePoint Development
SharePoint application development for better management of your business. SharePoint applications that we build are intuitive and provide a collaborative environment to increase productivity.
-
SharePoint Integration
CIS uses a proven integration method that allows for custom connectors to weave SharePoint's advanced features into platform-based applications - ensuring improved productivity, work management, knowledge sharing and satisfy all other business requirements.
-
SharePoint Content Management
SharePoint is a content management system which allows external users to manage content on extranet portals, websites and intranets. We create a content management system that is highly secure and helps you manage your content.
-
SharePoint Workflow Solution
SharePoint is a powerful tool for managing business's custom workflows. It automates and accelerates repetitive tasks. Our workflow management software helps improve the overall performance and efficiency of your staff.
-
SharePoint Migration
We will help with the migration task of your SharePoint platform into the cloud applications ecosystem, allowing you to enjoy a wide variety of higher security features, better processes, more flexibility, and more without disrupting your daily operations.
-
SharePoint Intranet Solutions
CIS offers a centralized interface that includes essential SharePoint Intranet portals that helps in various business operations such as knowledge sharing, collaboration and internal communication. This is all wrapped in a SharePoint intranet design with an effective UI. Serve pertinent and contextual information to the right person at the right time with our contemporary intranet solution.
-
SharePoint DMS
CIS provides an efficient SharePoint Document Management System that digitizes the document lifecycle, from archiving to creation. This reduces operational costs and improves employee engagement and efficiency. SharePoint DMS is available in the cloud with SharePoint Online DMS or on-premises version of SharePoint DMS. You can also share documents with our DMS enterprise systems.
-
Integration of Salesforce and SharePoint
CIS can assist you in deploying SharePoint as a hub for business-critical data and a single point of truth for documents. It integrates with Microsoft 365, and other business apps to automate and speed up cumbersome business processes. SharePoint can be integrated with Salesforce as a document library, allowing users to access documents stored, and document retention in SharePoint from the Salesforce Platform.
-
SharePoint Power BI
Business Intelligence Tools in SharePoint provide additional benefits today to business owners. Power BI integrates seamlessly with Excel, allowing you to create content, visualizations and data-models. These insights can be extended, collaborated and shared.


Why CIS For Custom SharePoint Development?
-
Client-centric Approach
At the core of our solution lies customization to fit your business needs. We focus on your business problems and find the right technology solutions.
-
Expertise and Experience
We are an expert team of 200+ tech experts that have years of SharePoint expertise in building modern, feature-rich and customized SharePoint solutions for businesses of all leading industries.
-
Expert Resources
We are one of the largest pools where you will find talented developers, coders, programmers, designers, project managers, and testers all centrally focused on building on-point business solutions.
-
Our Clientele
We have our presence known in more than 45+ countries and we have worked on more than 1000 projects till now. Some of our clients are leaders in the global industry and we are proud to save our 99.9% customer satisfaction score.
-
Customized and Effective Solutions
We think from a business and industry perspective while building solutions for your business. This helps us understand your business challenges better and provide tailor-made solutions.
-
Vast Experience
We are a leading SharePoint service application development and consulting services company that provides custom solutions, in our 10+ years of extensive experience we have worked with various industries over a lot of critical projects.


SharePoint Solutions
-
Assessment & Planning
We do a close assessment of your business processes and counsel you based on your needs and what is trending in the industry. Post which we dwell into aggressively planning for development and deployment of customized SharePoint solutions for your business.
-
Development And Implementation
We have an expert SharePoint development team that works on a well-defined development process and we use proven development techniques to meet the harsh deadlines and achieve customer satisfaction. Once the product is rigorously tested and approved by you we start the implementation process.
-
Hire SharePoint Developers
Hire our expert SharePoint developers for efficient SharePoint consulting services for integrating SharePoint platform in your operational processes for improved efficiency, employee productivity, and team collaboration in your organization. We stand unprecedented in the business app development domain.


Industry Solution
FAQ's
Sharepoint is a development platform that is designed for team collaboration, communication, or the development of business tools. It is widely used for document and content management, corporate intranet or portals, workflow automation publishing management dashboards.
Sharepoint is web-based and thus you can access the platform through any browser on any device. It does not require installation. But you can install the Sharepoint app on your mobile phone in case you need a better experience.
-Do not set access rights too broad.
-Do not use weak passwords, or default passwords.
-Do not ignore patch management.
-Always use modern and advanced security tools to protect data in Sharepoint.
Case Studies


Client Success
-
Nicolas
...
I’ve outsourced my joomla CMS website development project to Cyber Infrastructure, CIS, I would just like to thank you for the good work you did. It was really efficient and understanding all the things we need, really great. We will come back for
Ghio
Lemmer, Netherlands
I am glad to write a review for your capable team, you have onboard and I would like to mention another thing that your technology team is good for your company. Thanks for everything. Soon we'll be outsourcing more projects to you.
Paul
...
I’ve hired CISIN a while ago and I want to say that thanks for your help, everything is great & much appreciated. I’m always open to any design upgrades you may like to punt in future so feel free. I wish you peace & success in every sphere, thanks again.
-
Simon
...
I am a Research Director for a company in the UK which monitors company’s customer service and provides feedback on their performance and shows benchmarking data for their continual improvement. With that background I am pleased to say that the customer service I received from you just now was excellent!
JimMc
Scotland, United Kingdom
Super Work The application is better than I expected it to be. This was quite a fluid arrangement as I was not totally sure what I required, Abhi and the rest of his team were very patient and discussed all aspects of the project with me. Any changes I requested
Leonard
North Carolina, United States
Did a great job, and in time asked for it. The Parental control application I was looking at was a single module in the final product. Very innovative with ideas and implementations. Thanks!
-
David
United Kingdom
Very diligent and hard-working. When given sufficient information, we were able to produce a good-quality product in a quick time. Would use them again.
Rossk
New York, United States
Outstanding work even with some of the last minute changes they coded the program changes without any problems.
Mike
Georgia, United States
Amit and team did a superb job, and did much more than they were required. Communication is very professional. Recommend these guys every time. I will use it again.
-
Mark
Florida, United States
Superb Communication will go the extra mile to please and best of all the quality of code is excellent! Thanks CIS!
Russell
Australia
A+ coding yet again. CIS is quick to respond to bugs and even quicker to fix them. I really enjoy the professionalism and dedication of this team!
RonnieO
Illinois, United States
CIS did an excellent job on my project. I gave them a week to get it done and they got it done within 1 day! They are very knowledgeable and easy to get in touch with. I definitely plan to use them in the future.
-
Rick
United Kingdom
Wow, that took a long time and was complicated! Cis team did a good job in the end and thanks for your work.
Jean-Luc
Antwerp,Belgium
Thanks! This is only the start. We are bound to do great things together.
Nicolas
...
I’ve outsourced my joomla CMS website development project to Cyber Infrastructure, CIS, I would just like to thank you for the good work you did. It was really efficient and understanding all the things we need, really great. We will come back for